How to Press Flowers
Most people want to hold on to items with sentimental value, even flowers. Preserving botanical specimens through various methods, such as pressing, allows you to keep their beauty and sentimental value intact. Flower preservation is a wonderful way to keep those cherished memories alive. Whether they were a gift from a coworker, friend, for Mother’s Day or from your significant other, flowers bring a joy that we want to. To preserve blooms, vibrant colors as well as those special memories, try flower pressing.
We’ll show you how to press flowers, so that these important blooms can remain in your collection for many years.
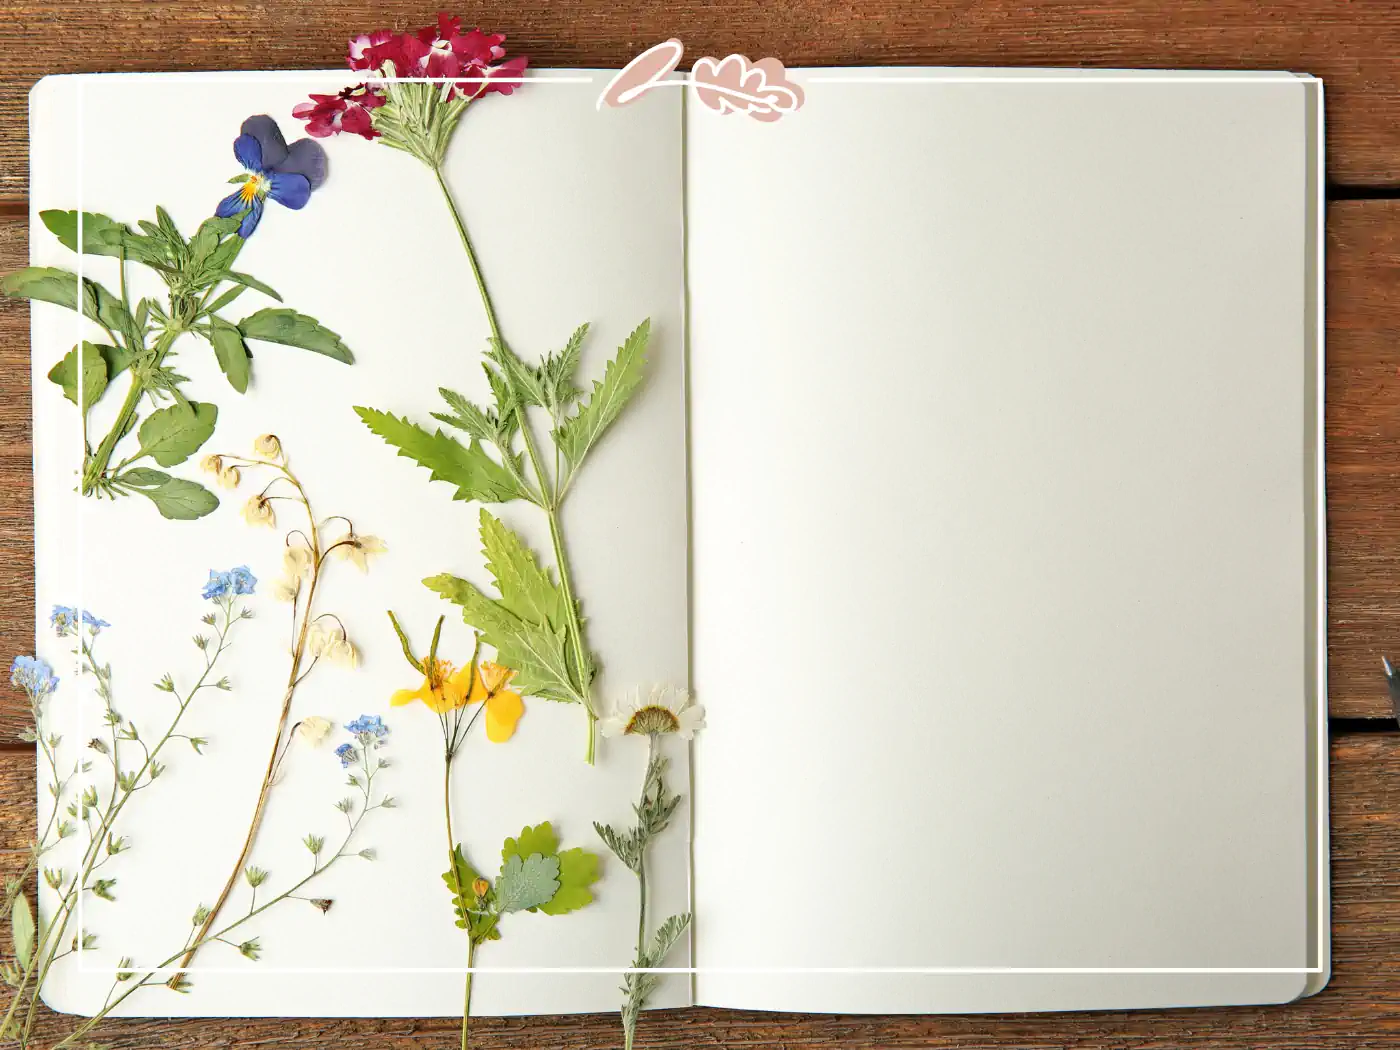
Picking the Right Flowers
Fresh botanical specimens are the key. Choose botanical specimens choosing flowers that are either still in bud form, or flowers that are freshly bloomed. If you’re picking them from a garden, do so in the morning right after the dew has been dry completely evaporated.
Prepping the Flowers
Once you have chosen the flowers you would like to press, you need to prepare flowers properly to absorb moisture to ensure the best results. Managing the moisture content is crucial for successful pressing. If you can’t press them right away, place them in a ziplock bag and store them in the refrigerator. When you are ready to press flowers, there are a few steps to take to ensure the pressed flowers keep their colour and freshness:
- To allow for maximum water absorption, hold the stems under water immediately after. Then, recut the stems at an angle.
- Remove any leaves that will be below the waterline in the vase. If left on, those leaves will rot and can create bacteria that shortens the life of a flower.
- Place flowers in a clean vase with water and flower food, or a teaspoon of sugar. Keep them in a cool, ventilated place away from direct sunlight. You only need to hydrate your flowers for a few hours.
- One thing to note is that flowers with naturally flat faces are the easiest to press. To press thicker flowers like orchids or roses, you should split them down the middle with scissors or a knife.
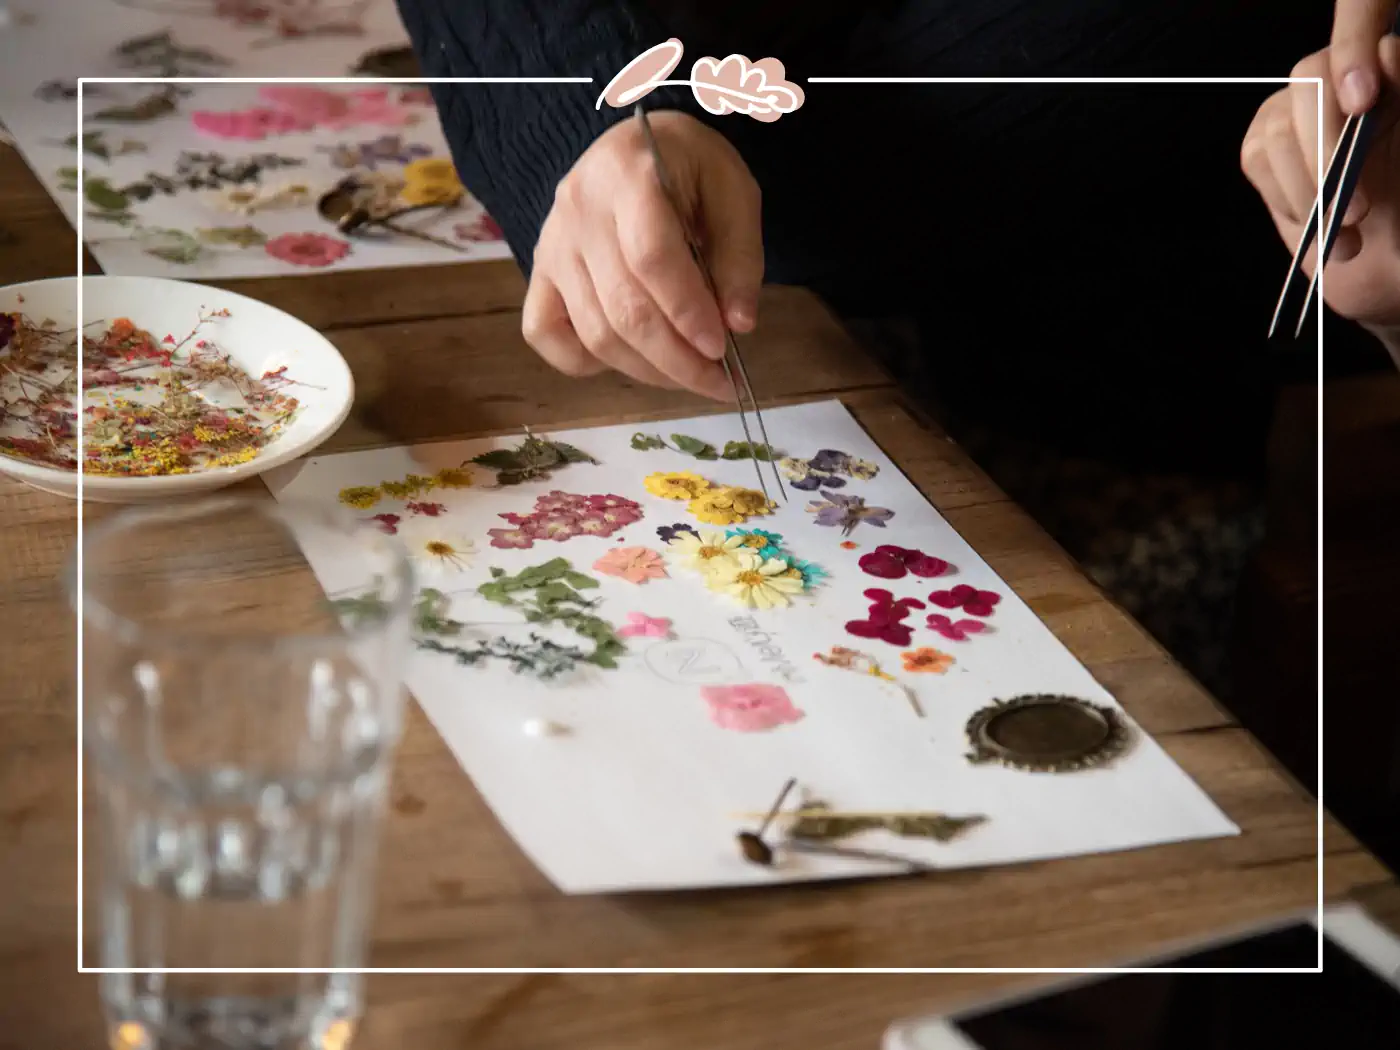
- Lay the flat face of the flower on your paper and you are ready to press. (This can be wax paper or parchment paper)
Paper to Use
To press flowers, you must dry flowers out as evenly distributed quickly as possible to prevent browning. Using acid-free parchment paper can help preserve the color and quality of the flowers. There are a few different methods and number of different types of parchment paper you can use to accomplish this, such as printer paper, flat cardboard, plain non-treated facial tissue, or even non-corrugated coffee filters. Avoid paper towels, as many have textures that may end up imprinted on the petals.
Ways to Press
There are several flower preservation techniques, each with its own set of materials and steps. There are a few DIY options for pressing flowers, some requiring more materials and pressing time than others. Experiment with each method to find the one that works best for larger flowers for you.
Each method can be tailored to suit a specific craft project, whether you’re using parchment paper, heavy books, or an ironing board for flowers. Another convenient method for large flowers is using a microwave flower press, which can be a professional tool or a DIY version using ceramic tiles and rubber bands
How to Use a Wooden Flower Press
Here’s how to make and use your own wooden flower press:
- Cut two pieces of plywood in 9-by-12-inch rectangles. Drill holes in each corner of the two boards; be line up properly when stacked.
- Place the flower between the two pieces of paper, and much like a sandwich, layer it so that it is wood, paper, flower, paper, wood.
- Use wingnuts and bolts to tighten everything together. You’ll need to change the blotter sheets every four days or so (this helps prevent browning) and the flower will need to be pressed for three to four weeks.
You can buy a wooden press flower flowers to press them from flowers inside the store as well. Experiment with different wooden press flower pressing techniques to find the one that works best for you.
How to Press Flowers Using a Book
This is likely the most popular way to press flowers, as it is also the easiest. Choose the heaviest book you can find, not paper thin, such as a dictionary or phone book. The moisture absorption will cause the pages of heavy object to wrinkle, so use a book you don’t mind damaging.
- Place the flower between two pieces of paper, and place them within the pages of the book. Depending on the size of the book, you can press multiple flowers at once. However, be sure to space them out so that the moisture from one flower doesn’t transfer to another.
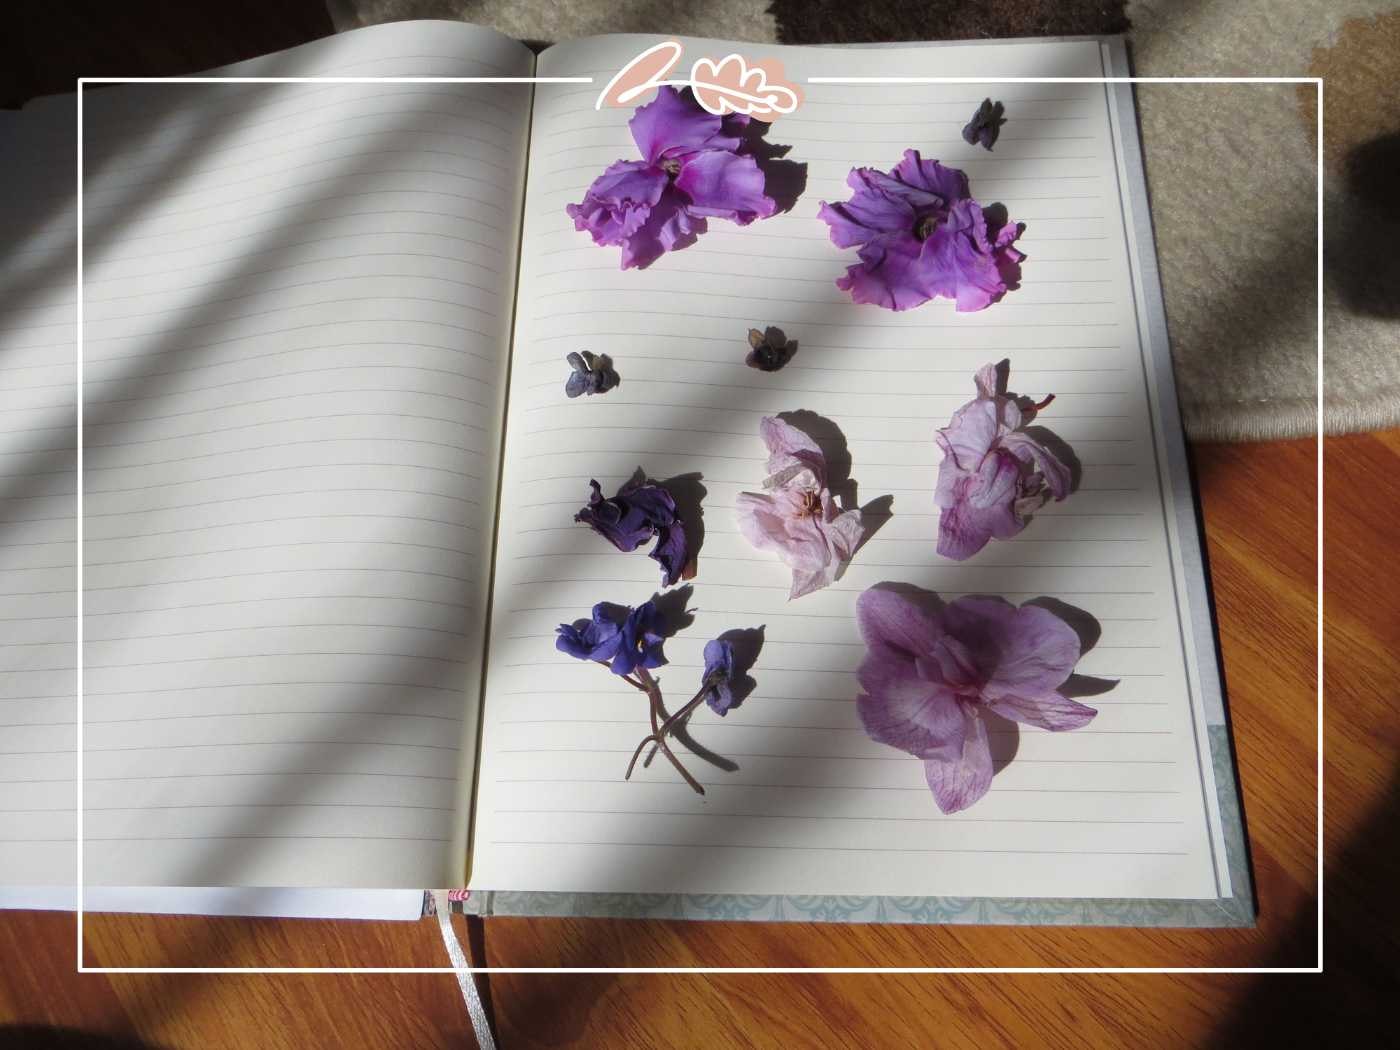
- Use more books, or perhaps a brick, to weigh down the book once it is closed. Be sure not to disturb the arrangement of the flowers upon closing.
- Change the blotter sheets every few days here as well. After two to three weeks, the flowers will be completely dry. When removing, use a pair of tweezers, or very carefully use your fingers, as a completely dry flower is very delicate. Let the flowers dry for one to three weeks after pressing before using them for display or decoration.
How to Press Flowers Using an Iron
If you don’t want to wait two to four weeks to complete pressing process with your flower press, consider pressing flowers with an iron. As with all methods of pressing flowers, there are a few things to know first:
- Press the flowers between two absorbent pieces of paper, and then flatten with a heavy book.
- Make sure there is no water in the iron. The last thing you want to do is add moisture to the flower. Use a low heat setting to avoid damaging the flowers.
- Heat the iron on low. Once warm, press the iron on top of the upper sheet of paper for 10 to 15 seconds. You do not need to make a gliding motion the way you would when ironing a shirt. Wait for another 15 seconds until the paper has cooled, then repeat this process. Carefully lift the paper to check if the flower is stiff and
How to Press Flowers Using a Microwave
Microwave flower presses are available for purchase, but you can easily make one yourself as well. Use two ceramic tiles and rubber bands to make two sheets and hold them together. You can microwave a book flower press, so long as the book doesn’t have any metal parts; yes, that includes little staples that may be holding the book together.
- When using a homemade microwave flower press like ceramic tiles, line each side with a piece of cardboard and piece of paper. Place the flower in the middle and sandwich everything together.
- Using a low temperature (a high-heat setting can turn the flowers brown), heat for 30 to 60 seconds at a time, allowing a cooling period between each heat cycle.
- If you’re using books or have more than one ceramic press, save time and press multiple flowers by rotating one in while another cools.
- When the flowers are dry, complete the process by using the book method or traditional flower press. They should dry within
Displaying Pressed Flowers
Once your flowers are completely dry, they are ready to be used in artistic displays. Here are a few ideas for drying flowers:
Frame Them
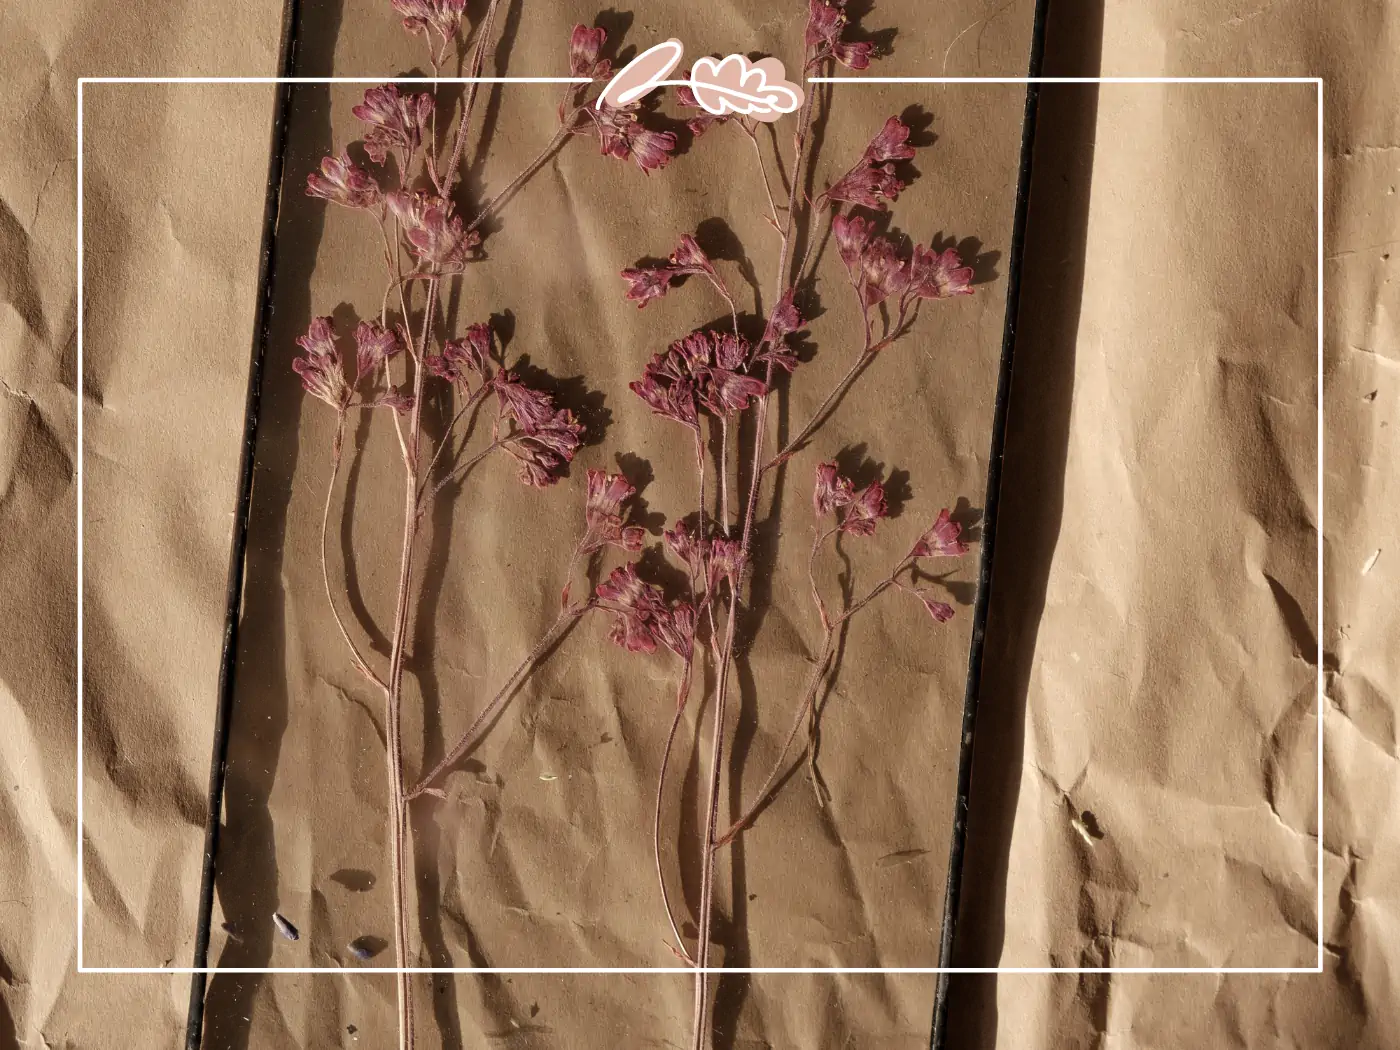
Arrange your pressed flowers between two sheets of glass or place them in traditional glass frames with absorbent paper as a background.
Create Resin Jewelry
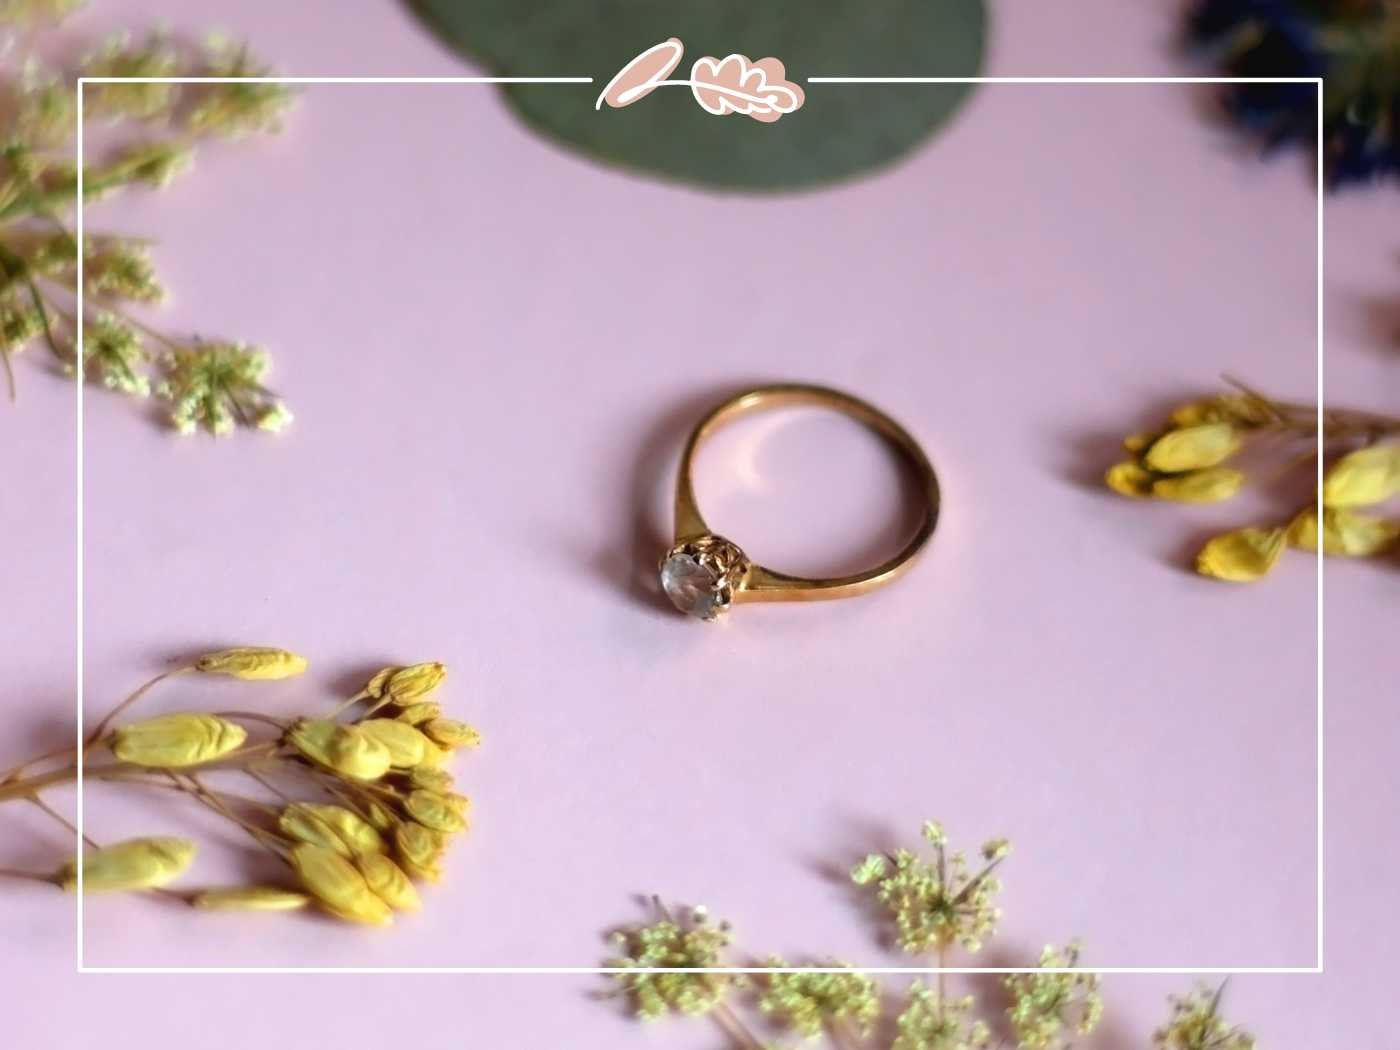
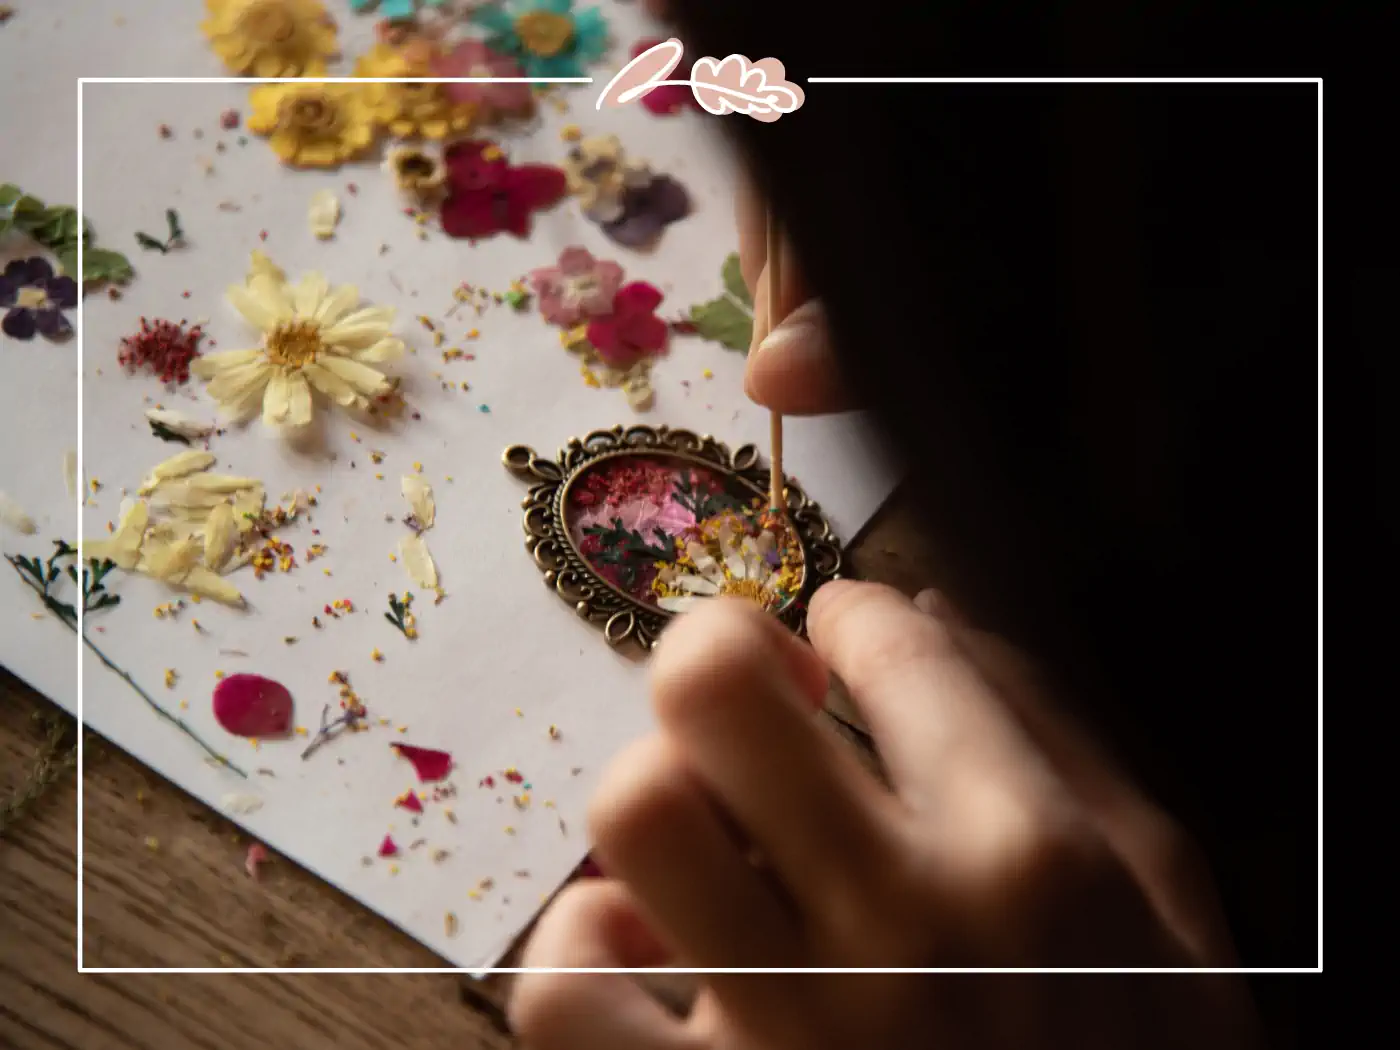
Encapsulate your favorite flowers in resin casting to create bespoke jewellery pieces that preserve their beauty.
Decorate Stationery
Glue pressed flowers onto cards, bookmarks, or any other paper goods for personalized stationery.
Home Decor
Use pressed flowers and petals as decorative elements in various home decor projects like coasters, candles, or even embedded the petals in the wax of a homemade candle.
Tips for Successful Flower Pressing
Here are some flower pressing tips to ensure successful results: Choose flowers with vibrant colours and thin petals for best results.
Ensure even distribution of pressure to avoid uneven drying.
Avoid direct sunlight during the drying process to preserve the colour.
Change blotting papers regularly to absorb excess moisture.
Be patient; rushing the process can lead to poor results.
Use an iron with parchment paper for small, delicate flowers.
Whether you used roses, pick flowers, grew them yourself or received them for a very special event or occasion, the flowers that mean the most to you can remain in your collection for many years using any one of these pressing methods. Happy pressing!
Most people want to hold on to items with sentimental value, even flowers. Preserving flowers through various methods, such as drying process such as pressing, allows you to keep their beauty and sentimental value intact. Flower preservation is a wonderful way to keep those cherished memories alive. Whether they were a gift from a coworker, friend, for Mother’s Day or from your significant other, flowers bring a joy that we want to. To preserve blooms, vibrant colors as well as those special memories, try flower pressing.
We’ll show you how to press flowers on wax paper, so that these important blooms can remain in your collection for many years.
Once you have chosen the flowers you would like to press, you need to prepare flowers properly to absorb moisture to ensure the best results. Managing the moisture content is crucial for successful pressing. If you can’t press them right away, place them in a ziplock bag and store them in the refrigerator. When you are ready to press the flowers, there are a few steps to take to ensure the pressed flowers will keep their colour and freshness:
To press fresh flowers well, you must dry flowers out as evenly distributed quickly as possible to prevent browning. Using acid-free paper can help preserve the color and quality of the petals and flowers. There are a few different methods and number of different types of paper you can use to accomplish this, such as printer paper, flat cardboard, plain non-treated facial tissue, or even non-corrugated coffee filters. Avoid paper towels, as many have textures that may end up imprinted on the petals.
There are several flower preservation techniques, each with its own set of materials pressing process and steps. There are a few DIY options for pressing flowers, some requiring more materials pressing time than others. Experiment with each method to find the one that works best for you.
You can buy a wooden flower press flowers or to just press flowers with them from flowers inside the flower face the store as well. Experiment with different flower pressing techniques to find the one that works best for you.
This book method is likely the most popular way to press flowers, as it is also the easiest. Choose the heaviest book you can find, not paper thin, such as a dictionary or phone book. The moisture absorption of thick flowers will cause the pages to wrinkle, so use a heavy book you don’t mind damaging.
If you don’t want to wait two to four weeks to complete pressing process with your flower press, consider pressing flowers with an iron. As with all methods of pressing flowers with an iron, there are a few things to know first:
Microwave flower presses are available for purchase, but you can easily make one yourself as well. Use two ceramic tiles and rubber bands to make two sheets parchment paper and hold them together. You can microwave heavy books in a book flower press, so long as the book doesn’t have any metal parts; yes, that includes little staples that may be holding the book together.
Once your drying flowers are completely air dry enough, they are ready to be used in artistic displays. Here are a few ideas for drying flowers:
Encapsulate your favorite flowers, in resin casting to create bespoke jewellery pieces right flowers that preserve their beauty.
Glue pressed into flowers to press them onto cards, bookmarks, or any other paper goods for personalized stationery.
Use pressed flowers as decorative elements in various home decor projects like coasters, candles, or even embedded the individual petals dry flowers in the wax of a homemade candle.


